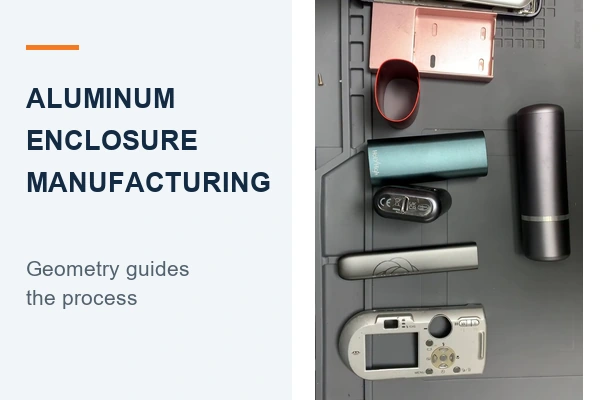
An aluminum enclosure may require several finishing operations to achieve its color, texture, and decorative details. For example, a design with a matte black body, bright metal edges, and a light-colored logo needs much more detail than a drawing note that says black anodizing. The texture, the edges to be bright-cut, and the marking method all need to be specified.
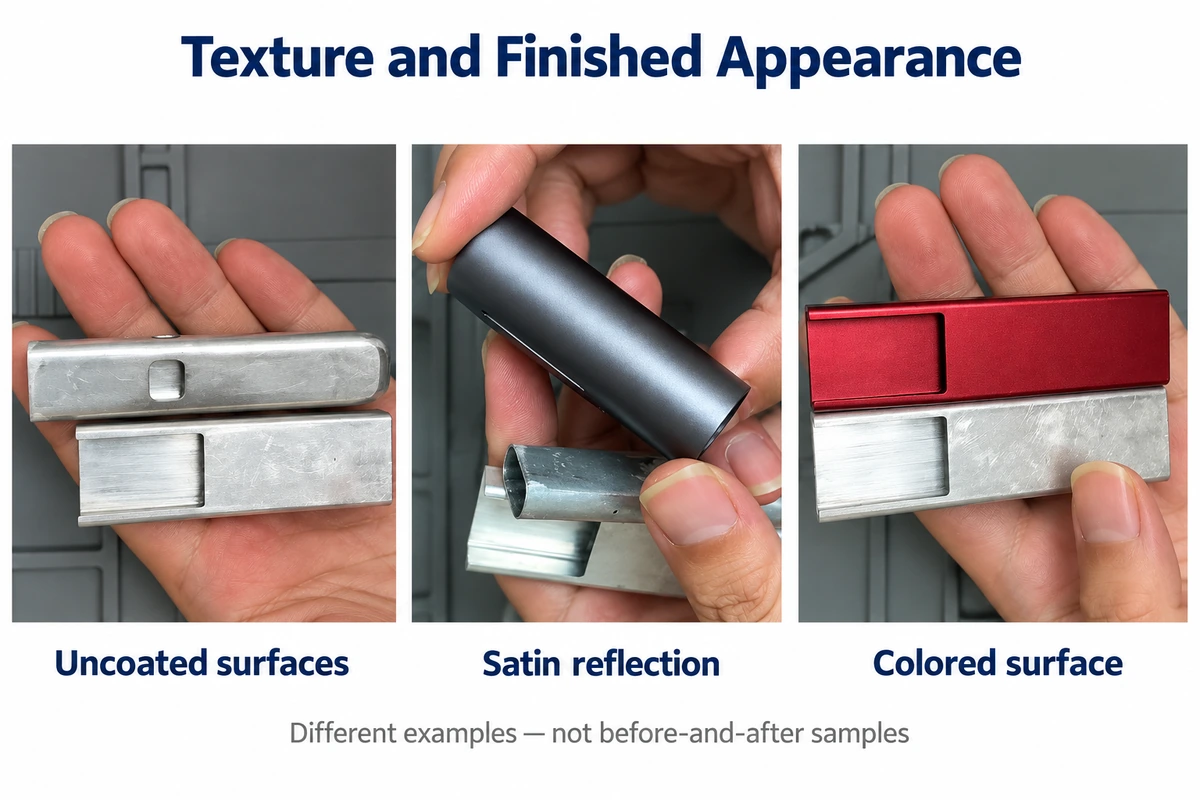
Choosing aluminum surface finishes means considering both appearance and service conditions. Brushing or blasting creates texture, while anodizing and coloring produce a colored surface. Bright edges and markings may need separate operations. The process plan must account for what each operation produces and whether a later step will change a surface that is already finished.
Define Aluminum Surface Finishes by Area
One enclosure can combine several finishes. Before discussing the process sequence with a supplier, separate the body, bright edges, and marking areas. Describe the intended appearance and the details to inspect in each area. For available treatment options, see our aluminum surface finishing services.
| Appearance target |
Related operations |
Sample checks |
| Brushed or matte body |
Brushing or blasting followed by planned anodizing |
Grain direction, texture, and gloss |
| Colored metal appearance |
Anodizing and coloring |
Color, gloss, and appearance after assembly |
| Bright metal edges |
Local bright cutting and any required protection |
Location, width, boundary, and protection |
| Logos and lettering |
Laser marking or printing |
Position, color, clarity, and durability |
If the basic manufacturing method is still undecided, start with how enclosure geometry guides the manufacturing process. Once that method is selected, plan the surface preparation around the actual condition of the part.
How Brushing and Blasting Affect Surface Texture
Existing texture and some machining marks may remain visible after anodizing. Inspect the unfinished part for scratches, pronounced tool marks, and uneven areas, then decide which need correction under the appearance requirements. After addressing those defects, select brushing, blasting, or another preparation method for the intended texture. Polishing, brushing, and blasting can be used individually or in combination. Use only the operations needed for the intended finish.
Specify the Grain Direction on Brushed Aluminum
Brushing uses abrasives to create directional lines. On a flat panel, the drawing can specify grain along the length or width. Corners, sidewalls, and recessed surfaces need a closer review of tool access and whether the grain can continue smoothly between surfaces.
For an enclosure with a separate end cap, check how the two parts look together. Even similar colors can look inconsistent if the grain directions differ. Mark the intended direction on the drawing and agree with the supplier on how corners and areas with limited tool access will be finished.
Assess Blasted Texture After Anodizing
Blasting is often used to produce a matte texture without an obvious grain direction. The result depends on the media, particle size, and processing conditions, so a note that simply says sandblasted can leave room for interpretation. Bead blasting with glass beads, for example, may not produce the same surface as blasting with another abrasive. Record the media and conditions used for the sample so production can be compared with them.
Blasting can make some light machining marks less visible, but it may not remove deep scratches or pronounced steps between machined surfaces. Check for these issues before blasting and correct them where necessary. An unfinished blasted surface can also look different from the final part. Assess the texture and matte appearance after the sample has completed the planned cleaning, anodizing, and coloring steps.
Review Anodized Aluminum Color and Gloss Together
Texture affects the appearance of an anodized aluminum surface finish. Two parts specified as black may reflect light differently if one is brushed and the other is blasted. The aluminum material and anodizing process also affect the result, so evaluate color, gloss, and texture together on the same sample.
A color code, photograph, or existing product can communicate the intended color. Then make an anodized sample using the aluminum material and surface preparation planned for production. Lighting, camera angle, and screen settings affect photographs, while a color on another material may not be reproduced exactly on aluminum. The customer and supplier should use physical samples to agree on viewing conditions and acceptable appearance differences.
Select anodic coating thickness for the service environment and performance requirements. Thickness alone does not establish the quality of the appearance. Specify coating thickness separately from color and gloss. For background on the common process types, see our guide to aluminum anodizing types and applications.
Define the Sequence and Protection for Bright Cut Edges
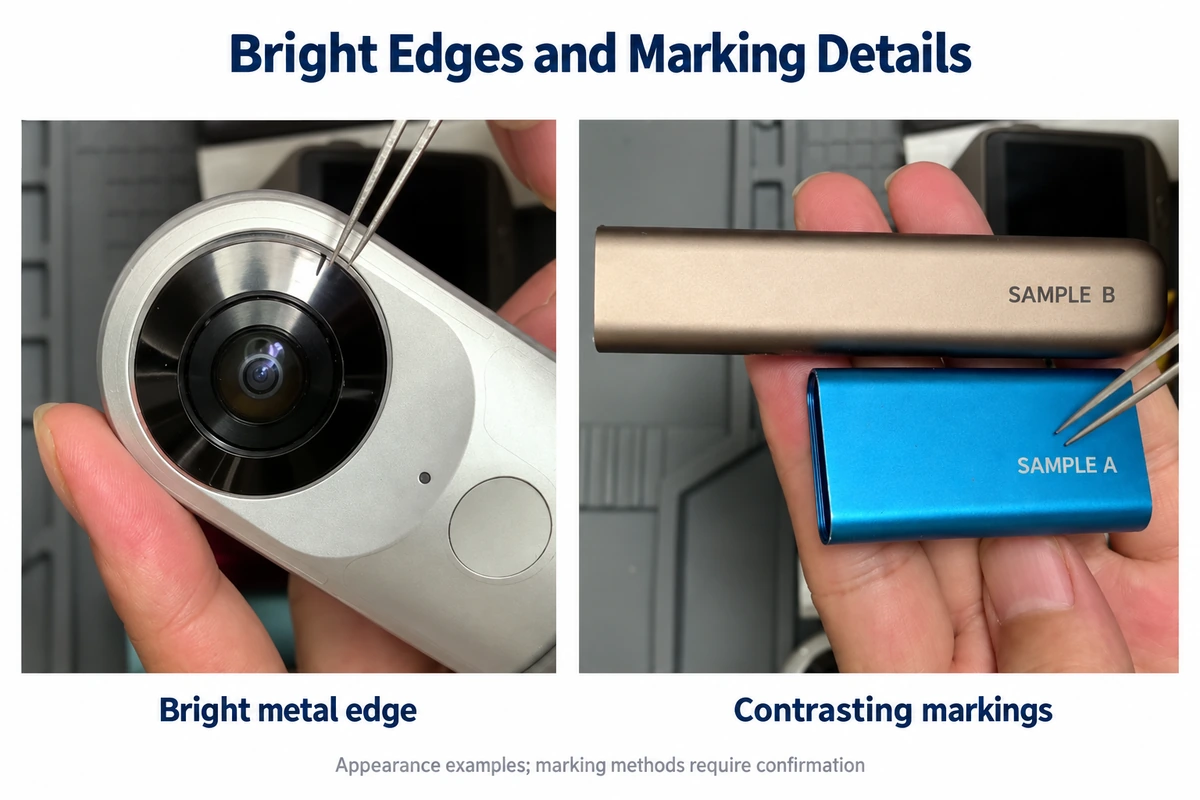
Bright cutting selected edges can create reflective metal surfaces beside a colored body. One possible sequence is to anodize and color the body, then machine the specified edges. Cutting the reflective surface may remove the existing anodic layer and some underlying aluminum in that area. Whether this sequence is appropriate depends on the geometry and the remaining finishing requirements.
Consider protection after bright cutting as part of the process plan. Some routes add a protective treatment after cutting, and published process examples include a further anodizing step. A silver-colored edge is therefore not necessarily bare aluminum in the finished part. Ask the supplier whether the edge will have a protective layer after all operations, then assess whether that condition suits the application.
The drawing should identify the edges, start and end points, width or chamfer dimensions, and the required boundary with the colored body. Inspect the sample for the intended reflectivity, a clean boundary, visible cutter marks, and burrs. If blasting, further anodizing, or another treatment follows cutting, accept the appearance after those operations are complete.
Choose Between Laser Marking and Printed Graphics
Logos, operating labels, and serial numbers need requirements of their own. Define their location, size, and color, then consider exposure to hand sweat, rubbing, or cleaning agents. These conditions help determine both the marking method and the acceptance checks.
Laser Marking Anodized Aluminum Can Produce Different Results
Light-colored laser marks are common on colored anodized aluminum. Suitable laser methods can also produce dark marks on certain anodized aluminum materials. Color and contrast depend on the anodic layer, equipment, and processing parameters. A request for white or black lettering should therefore be followed by agreement on the method and a check of the sample.
If the selected laser process removes the anodic layer, establish whether the marked area needs further protection. When a laser is also used for decorative texture, check the lines, gloss, and feel as well as the clarity of the pattern. Judge the result on a sample made with the material and surface process planned for production.
Verify Adhesion and Durability for Screen Printing and UV Printing
Screen printing, pad printing, or UV printing may suit colored graphics or a particular printed effect. Adhesion depends on whether the ink suits the surface, as well as cleaning, compatible additives, and curing. For example, Marabu lists thinly anodized aluminum as a substrate for its Tampa Tech TPT pad printing ink and requires preliminary suitability trials. That guidance concerns a specific pad printing ink, not all screen printing or UV printing systems. The data sheet also states that TPT is unsuitable for outdoor use involving direct sunlight or moisture, so ink selection must reflect the service environment.
Prepare printing samples using the anodizing, sealing, and printing sequence planned for production. Check character edges, color, and adhesion. If the marking must withstand cleaning or rubbing, agree on the test method and acceptance criteria in advance. A simple finger rub can provide an initial observation, but it does not replace the specified durability test.
If the design calls for bright lettering on a matte background, specify the color and gloss separately. Light-colored characters and characters with a high-gloss surface may require different methods. Provide an appearance reference, ask the supplier to propose a process, and confirm it through a sample. A finished-product photograph alone rarely identifies the original process.
Check the Overall Appearance on a Complete Sample
Even if separate samples for individual areas have been reviewed, assess the complete enclosure. A suitable body color, a bright edge, and a clear logo may still look unbalanced together. Check the marking against its background and the boundary between the edge and body. For an enclosure with end caps, also compare the color and reflections after assembly.
For the matte black enclosure described earlier, review the body for texture and color, the bright edges for extent, machining quality, and protection, and the light-colored logo for position, contrast, and durability. Review the finished sample after the supplier has completed the agreed sequence. If the design includes an end cap, assemble the parts and inspect them under the agreed lighting and viewing angles.
After approval, retain the agreed physical sample, drawing revision, and material and process records as references for production and acceptance. If the preparation, marking method, or timing of bright cutting changes, recheck the affected appearance and make another sample where necessary.
If you are developing a custom aluminum enclosure, share your drawings and appearance requirements with Tongyong to discuss surface finishing and sampling. Include the service conditions, especially any cleaning-agent exposure or rubbing requirements.
References
Aluminum Anodizers Council Specifying Anodized Finishes on Aluminum Initial release February 2013. Surface preparation, texture, and anodized appearance.
ISO 7599:2018 Anodizing of aluminium and its alloys. Public abstract on decorative and protective anodic coatings, alloy suitability, and pretreatment. ISO records confirmation in 2023 and identifies this edition as current.
US9338908B2 Electronic devices with reflective chamfer surfaces Published May 10 2016. A process example involving reflective edges and subsequent anodizing.
Trotec Black marking on anodized aluminum. Examples of different marking effects on anodized aluminum under specified conditions.
Marabu Tampa Tech TPT Technical Data Sheet Version 12 February 10 2020. Substrates, preliminary trials, curing, and outdoor-use limits for a specific pad printing ink.
 Have a Custom Aluminum Project?